Exo Terra Thermostats are accurate, reliable and easy-to-use.
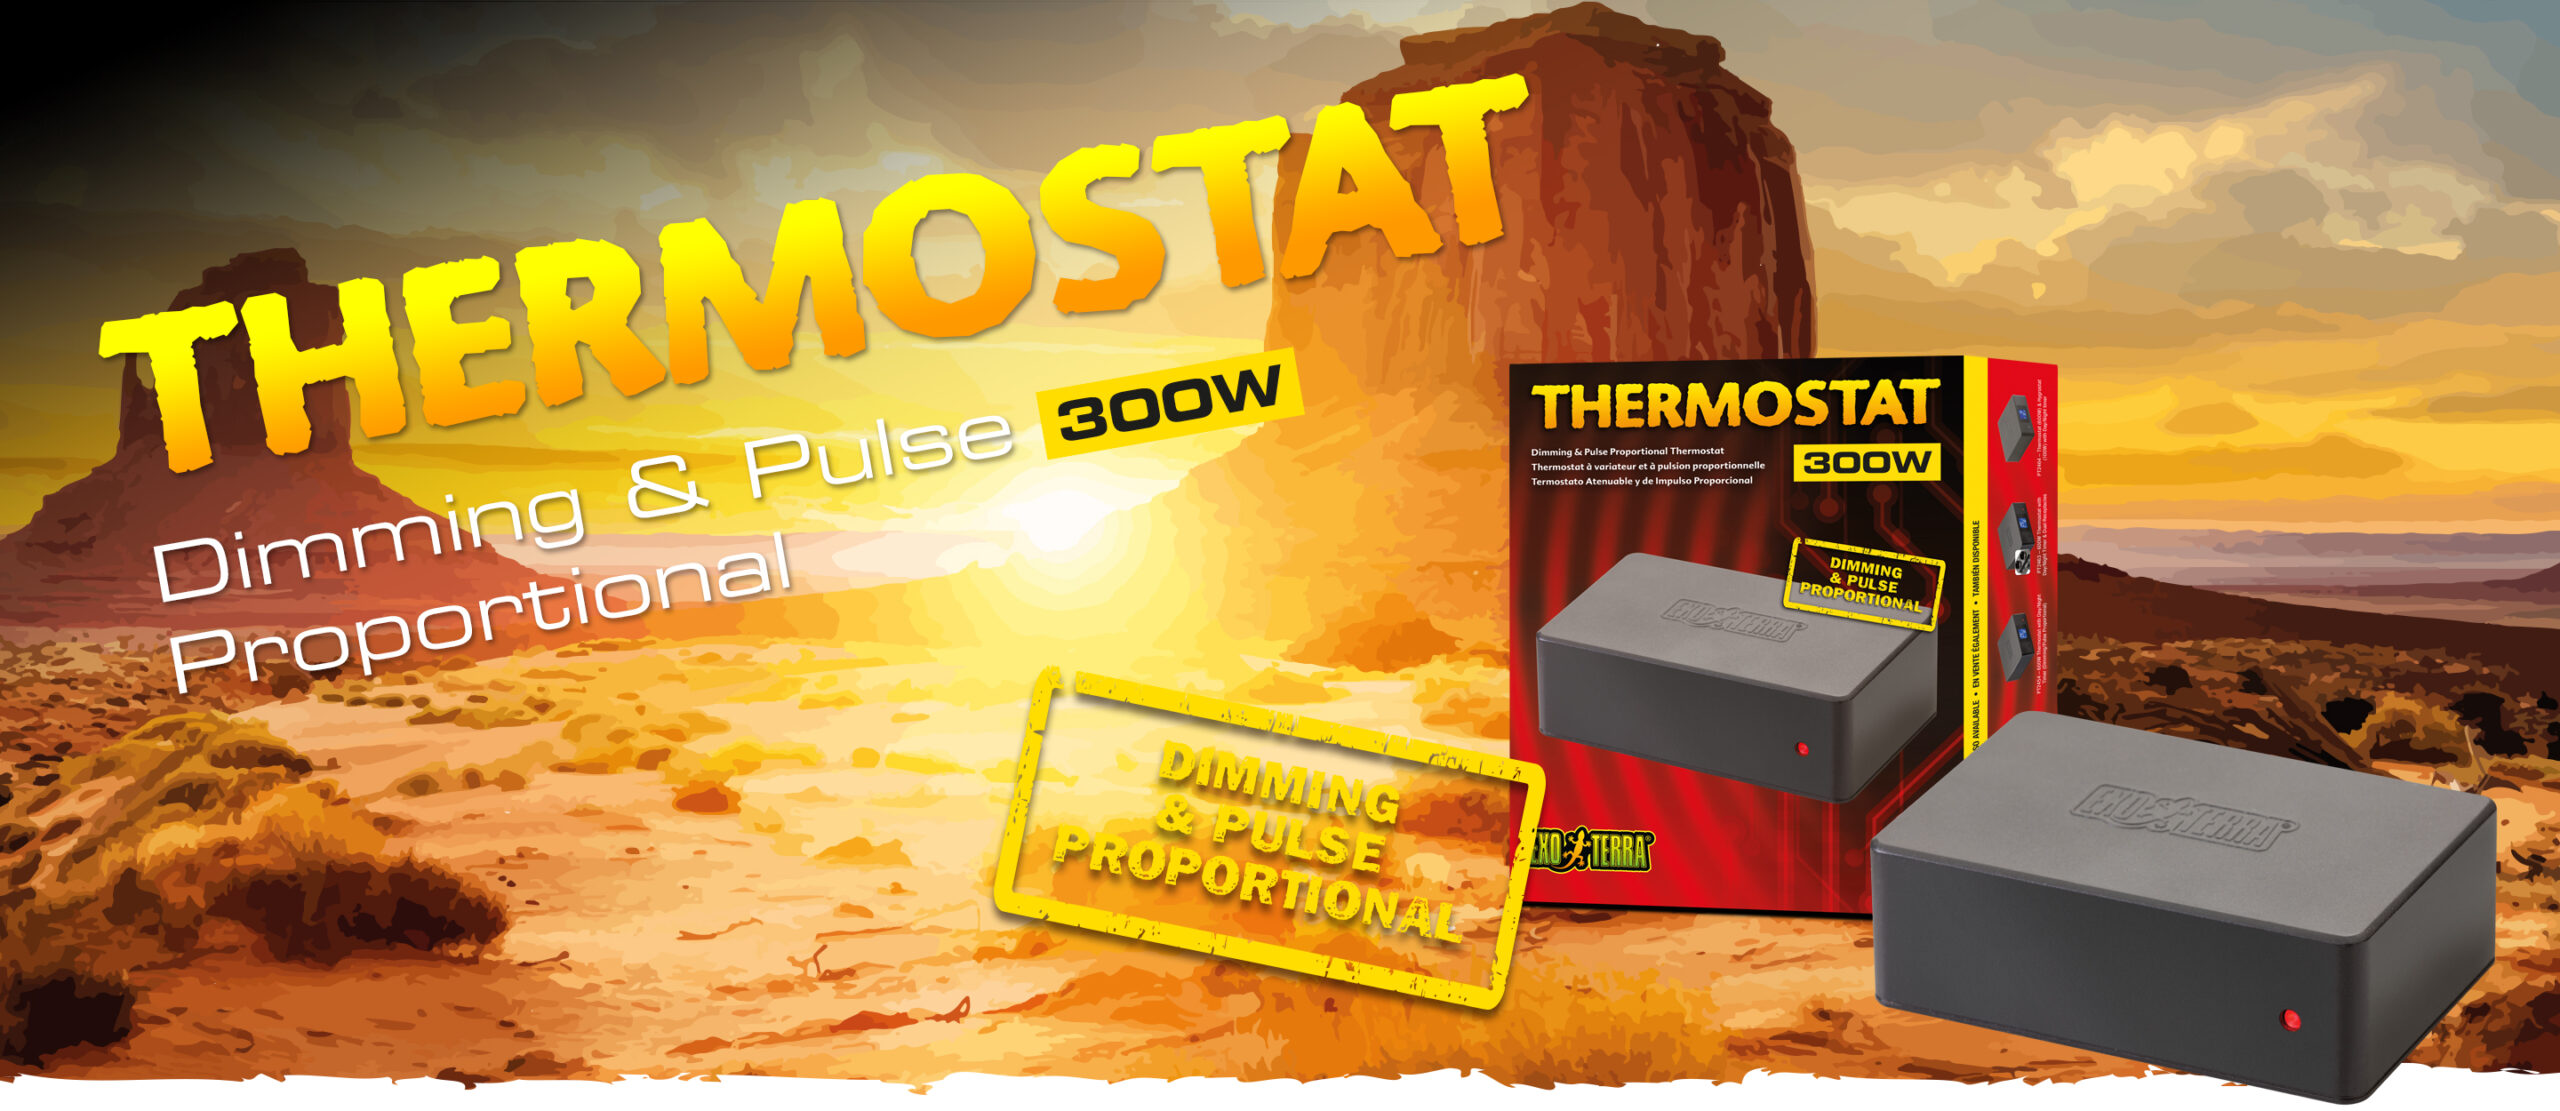
With the Exo Terra 300W Dimming & Pulse Proportional Thermostat you can create a well-controlled heating system that allows you to maintain the required temperature conditions similar to those found in a desert or tropical environment.
The Thermostat will also help to prevent overheating and undercooling during hot summer days or cold winter nights.
The Dimming & Pulse Proportional function keeps the temperature at the desired set-point with a much higher accuracy than conventional thermostats and virtually eliminates temperature swings in the terrarium.
The Exo Terra Thermostat should be set according to the needs of the animals. Thoroughly research the preferred optimum temperature range (POTR) for your specific reptile, so you can create the correct temperature gradients inside the terrarium to allow your reptiles to thermoregulate.
Always use a Thermometer to monitor the temperature inside your terrarium. Adjust the Exo Terra Thermostat according to the required temperature range for your pet’s environment.
FEATURES
Red LED lights up: heating device is powered. Blue LED lights up: set temperature has been reached and heating device is no longer powered.
Dimming & Pulse Proportional function controls terrarium temperatures very accurately
From 64°F up to 100°F
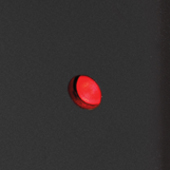
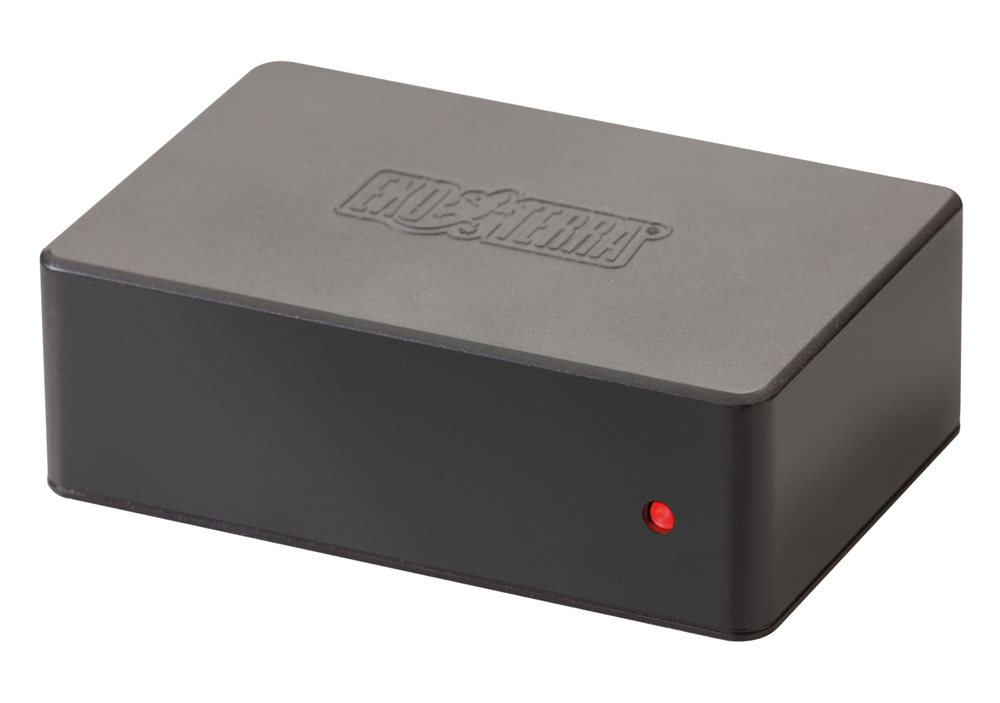
Red LED will indicate when heating device is ON
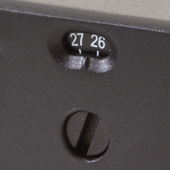
Recessed dial to prevent accidental temperature change
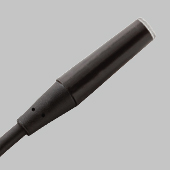
Waterproof remote temperature probe

Controls heating devices up to 300W

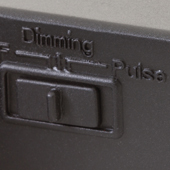
Choose between Pulse Proportional, Dimming or ON/OFF mode
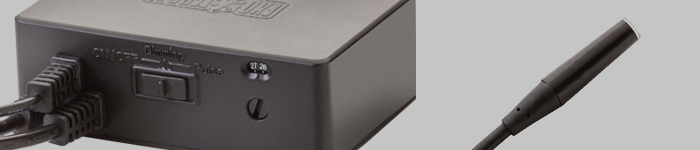
The recessed dial of the thermostat will prevent accidental temperature change if the device is being handled. The Thermostat comes with a power-cord with grounded plug & receptacle for increased safety and to allow the use of a power outlet strip. The waterproof remote sensor can be safely used in highly moist terrariums and aquatic environments.
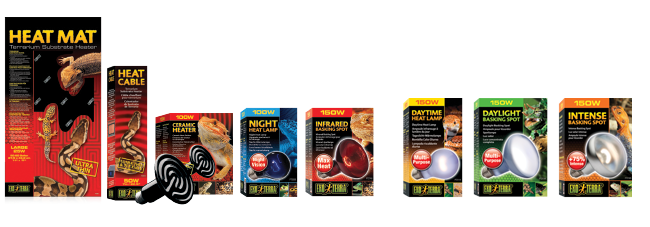
CAN BE USED WITH
Simply connect your Heat Mat, Heat Cable, Ceramic Heater or Incandescent Heat Bulb to the Exo Terra Thermostat, set the preferred temperature and place the heat sensor in the desired spot.
NOTE: When using the Exo Terra 300W Dimming & Pulse Proportional Thermostat in combination with a visible-light emitting bulb (like Exo Terra’s Intense Basking Spot, Daylight Basking Spot or Daytime Heat Lamp) to create a daytime basking area or for ambient daytime heating purposes, you need to switch the Thermostat on at sunrise and off at sunset either manually or by means of a timer, in order to avoid the bulb to emit light at night disturbing your animal’s normal activity cycle.

Day & Night Heating:
- Heat Mat (PT2015/16/17/18)
- Heat Cable (PT2011/12/13)
- Ceramic Heater (PT2044/45/46/47/48)
- Infrared Basking Spot (PT2141/42/44/46)
- Night Heat Lamp (PT2120/22/24/26/30 & PT2058/59)
Day Time Heating:
- Daytime Heat Lamp (PT2100/02/04/10/11/12/14)
- Daylight Basking Spot (PT2195/31/32/33/34)
- Intense Basking Spot (PT2196/35/36/38/40)
HOW TO INSTALL
INSTALLATION in Exo Terra Natural Terrariums
- Unlock the top screen cover and lift it off the terrarium.
- Slide one of the inlet holes (located on the back of the screen top on either side) to the open position, so the wiring will fit through.
- Feed the wire with sensor through the first available inlet hole on the preferred side on the back of the screen cover.
- Position the sensor inside your terrarium, in the location where you want to reach the temperature set on the dial. This can be on top of the substrate if you are using a Heat Mat or Heat Cable, but this can also be on a branch, cave or pile of stones if you are using a Ceramic Heater or Heat Bulb to heat up a certain basking area. NOTE: If using with a substrate heating device, please follow manufacturer’s instructions for safe use of the heating device.
- Place the top screen cover back on the terrarium and lock it into position.
- Close the remaining inlets by sliding the slider against the tubing or wires to prevent escape from feeding insects and smaller animals.
- Place the Exo Terra® Thermostat on a solid, level surface.
- Connect your heating device (Heat Mat, Heat Cable, Ceramic Heater, Incandescent Heat Bulbs, etc.) to the receptacle of the thermostat. Controls heating devices up to 300W.
Always use a thermometer to monitor the inside temperatures of your terrarium. Adjust the Exo Terra thermostat according to the required temperature range for your pet’s environment.
Choose between Pulse Proportional, Dimming or ON/OFF mode:
By setting the switch (on the back of the thermostat) to ON/OFF (O), Dimming (D) or Pulse (P), you can determine the heating mode. The Dimming & Pulse Proportional functions both keep the temperature at the desired setpoint with a much higher accuracy than conventional thermostats and virtually eliminate temperature swings in the terrarium. The Dimming mode is the preferred setting for use with Incandescent or Infrared Heat Bulbs. If you prefer wider temperature fluctuations for specific reptile species, set the Thermostat to the ON/OFF mode.
Set Temperature
To set the preferred temperature: turn the temperature dial on the backside of the thermostat, using a flathead screwdriver or other tool. A red LED will light up, to indicate that the Thermostat is powering the connected heating device, until the set temperature has been reached on the location of the sensor.
A. Red LED lights up: heating device is powered.
B. Blue LED lights up: set temperature has been reached and heating device is no longer powered.
WARNING: Always read the complete instruction manual inside the product box.
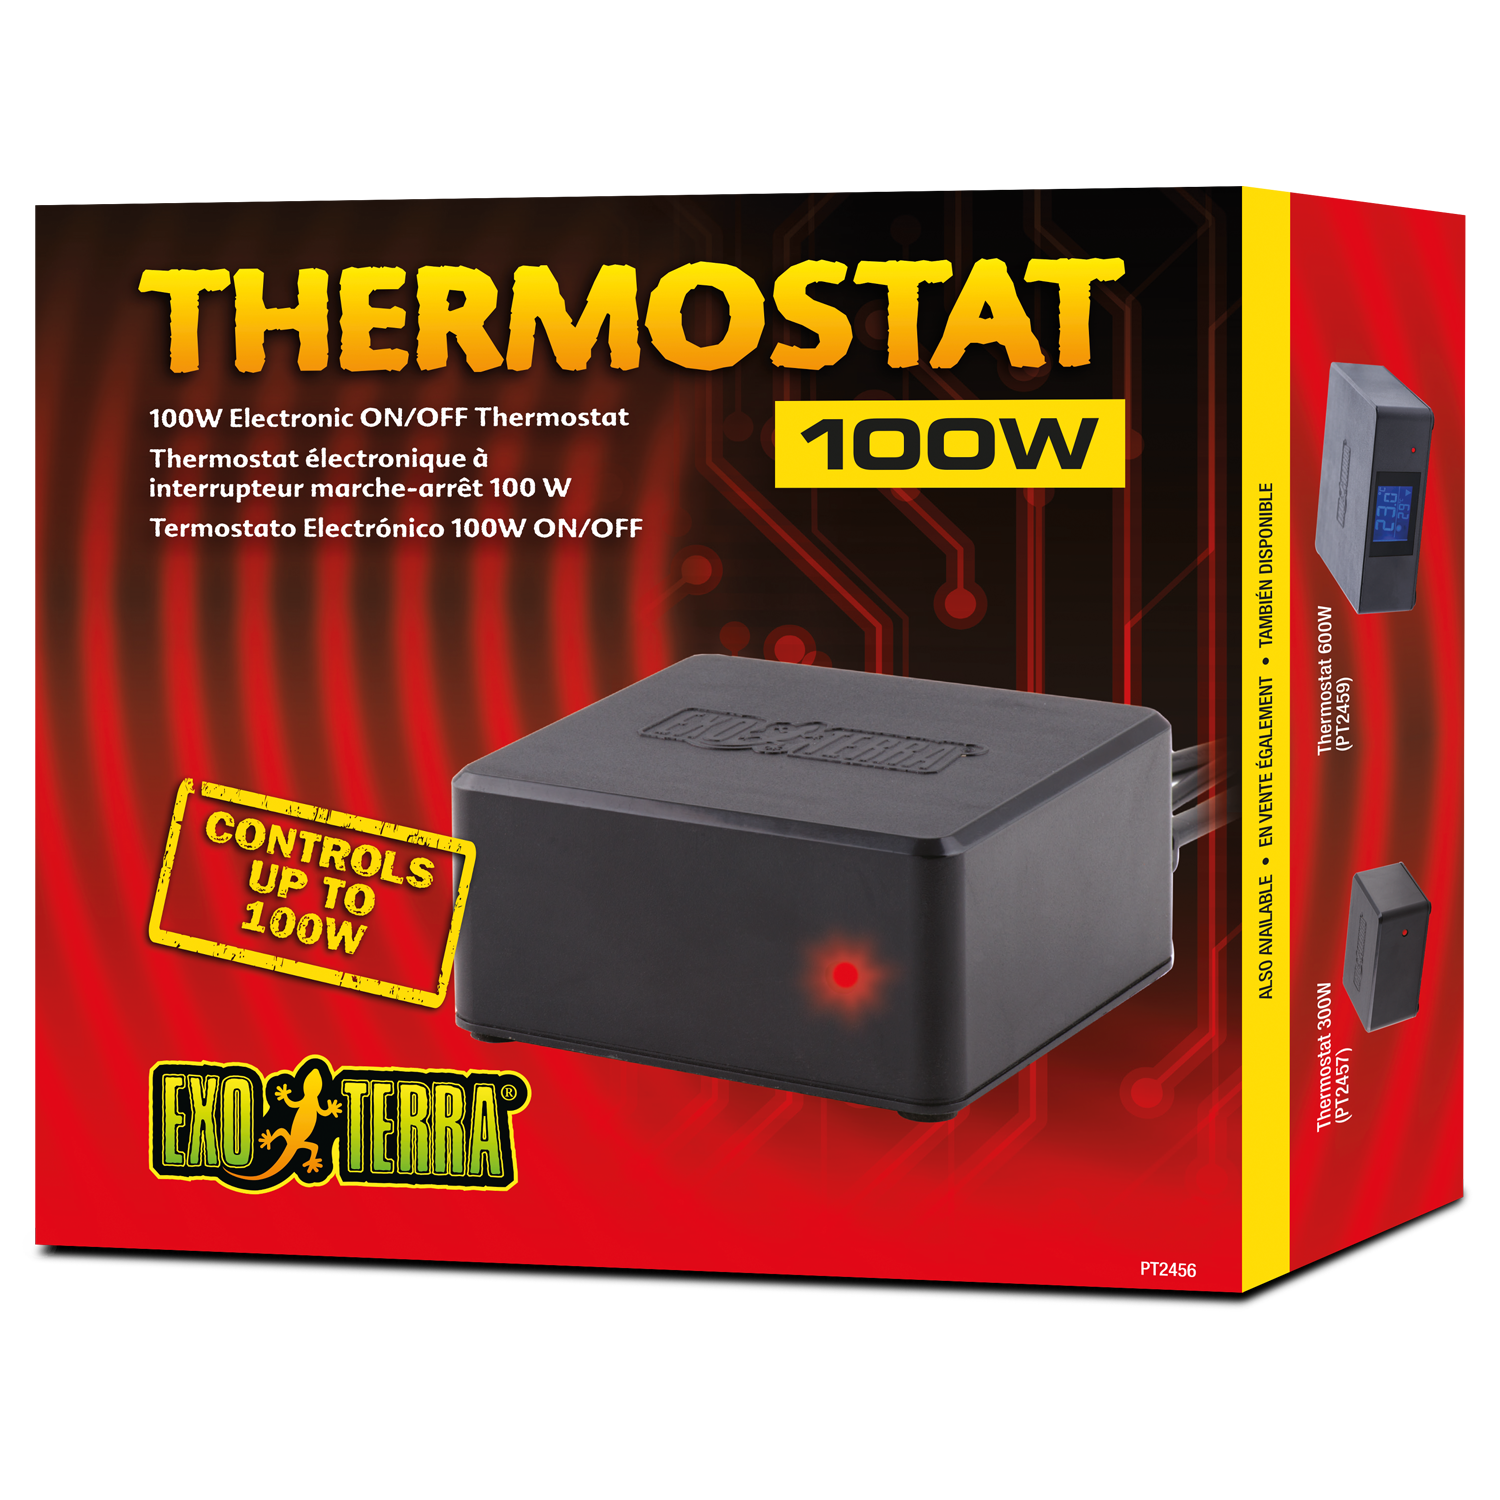
100W
Electronic ON/OF
Thermostat (PT2456)
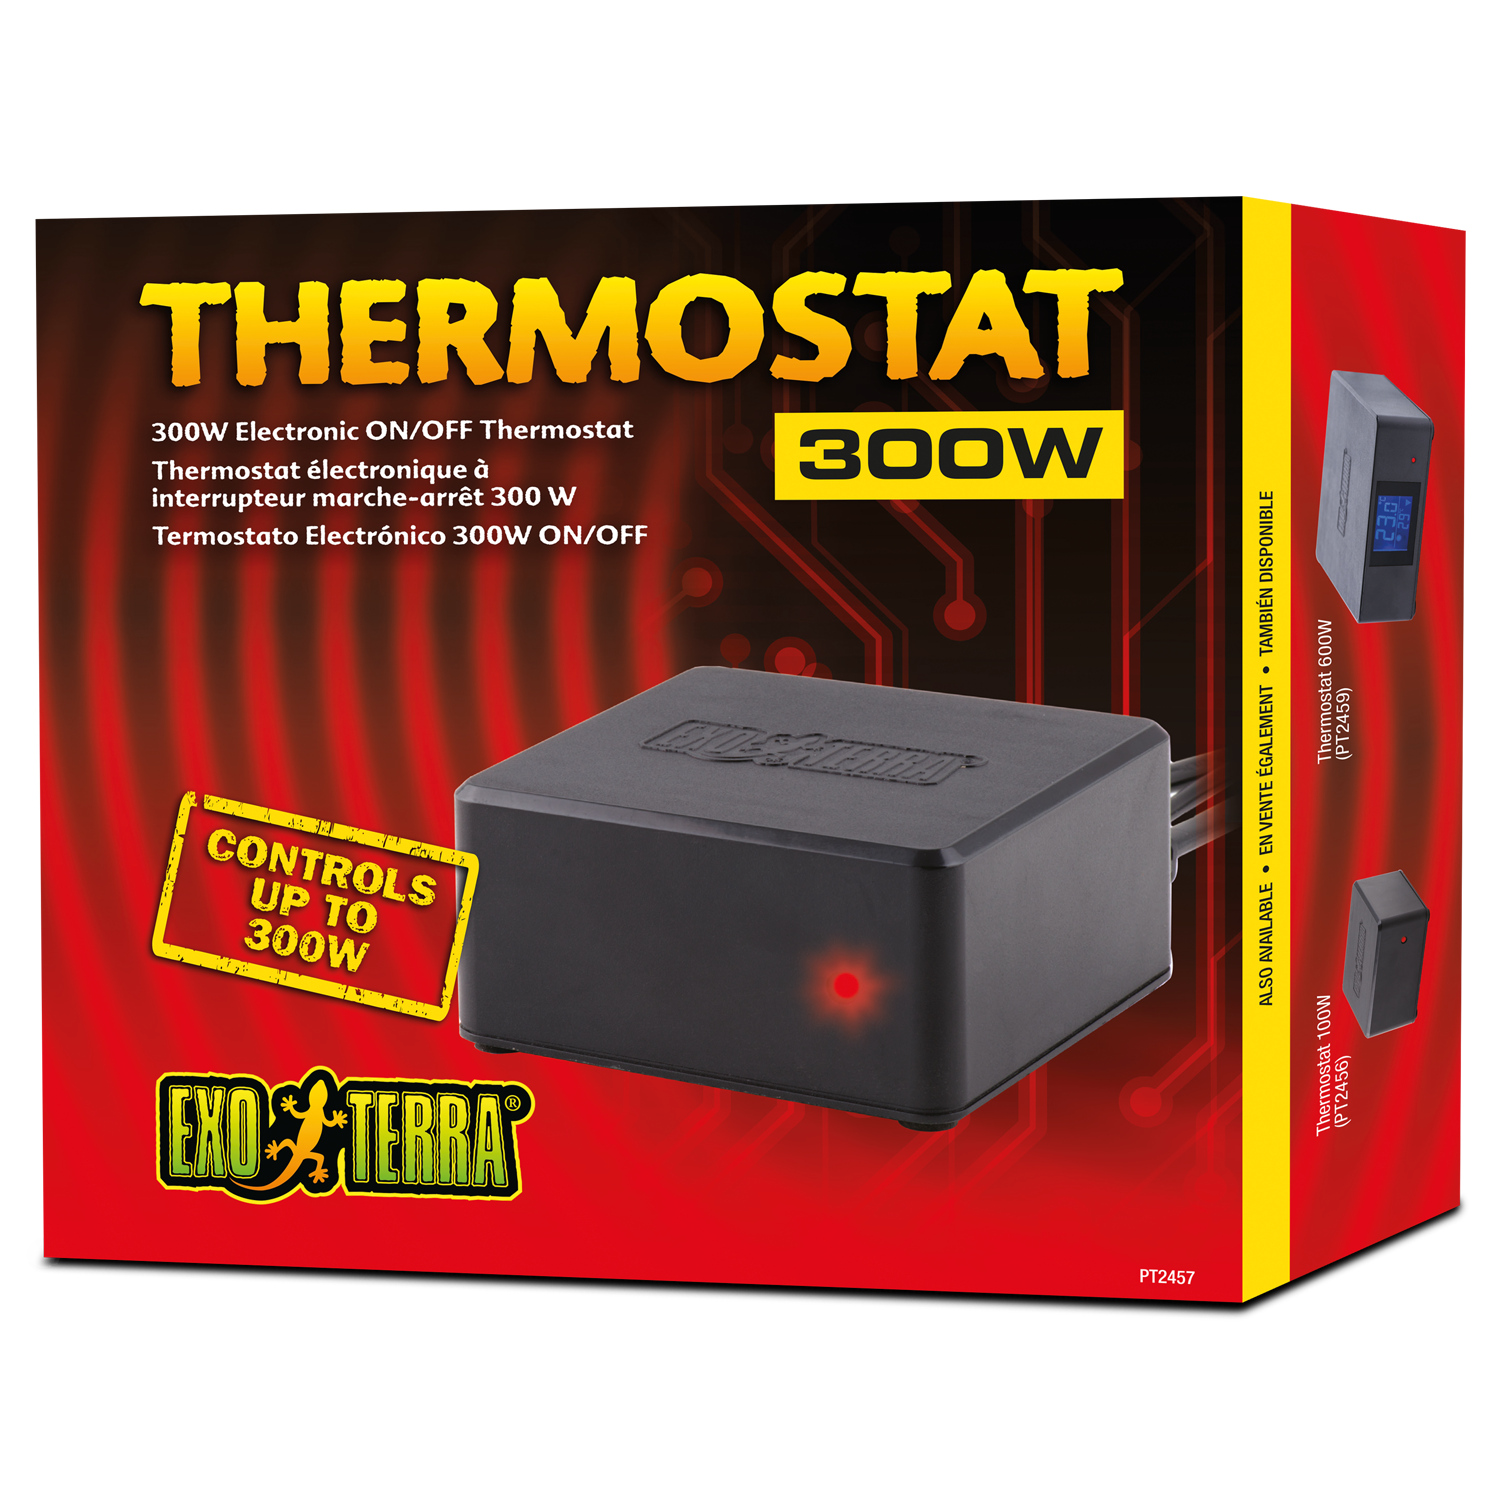
300W
Electronic ON/OF
Thermostat (PT2457)
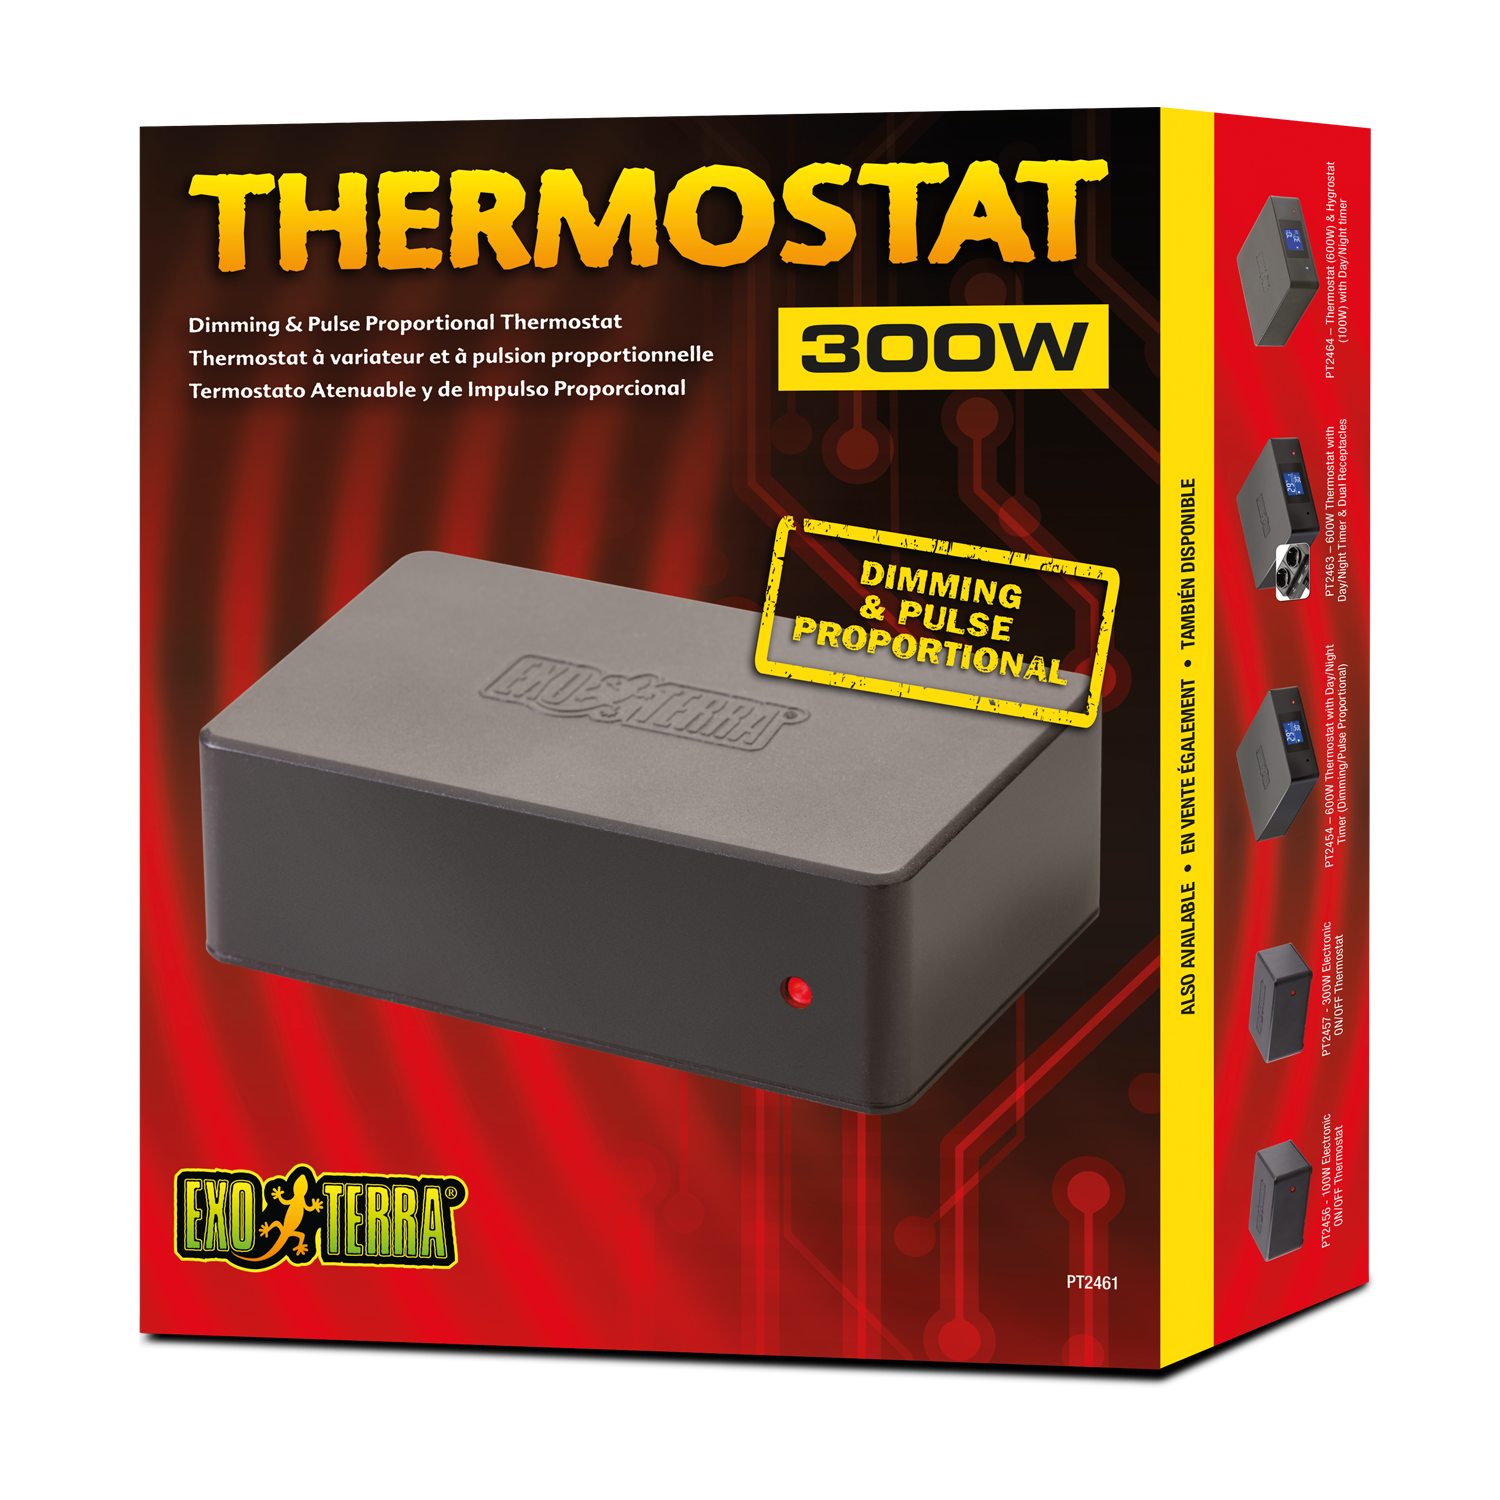
300W
Dimming & Pulse Proportional
Thermostat (PT2461)
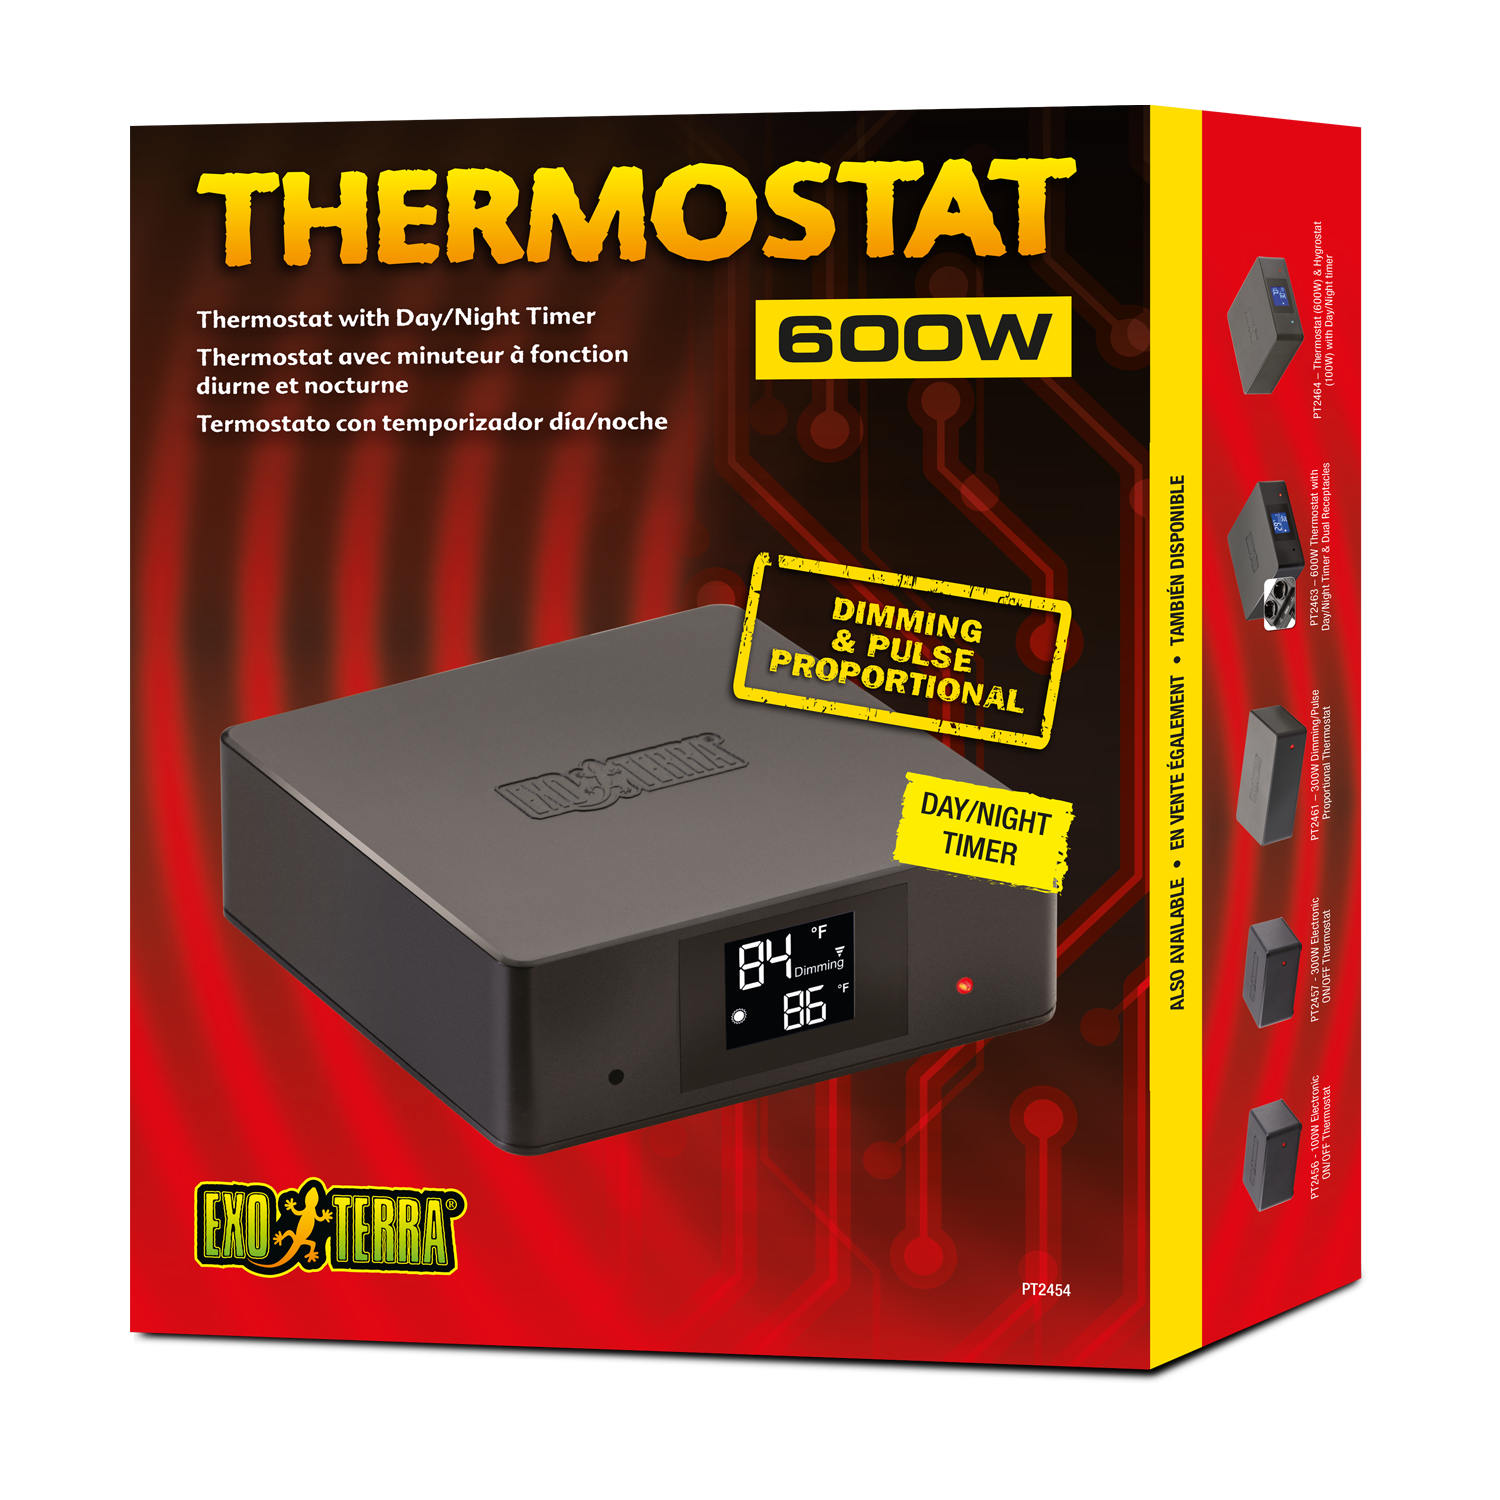
600W
Thermostat (PT2454)
with Day/Night Timer
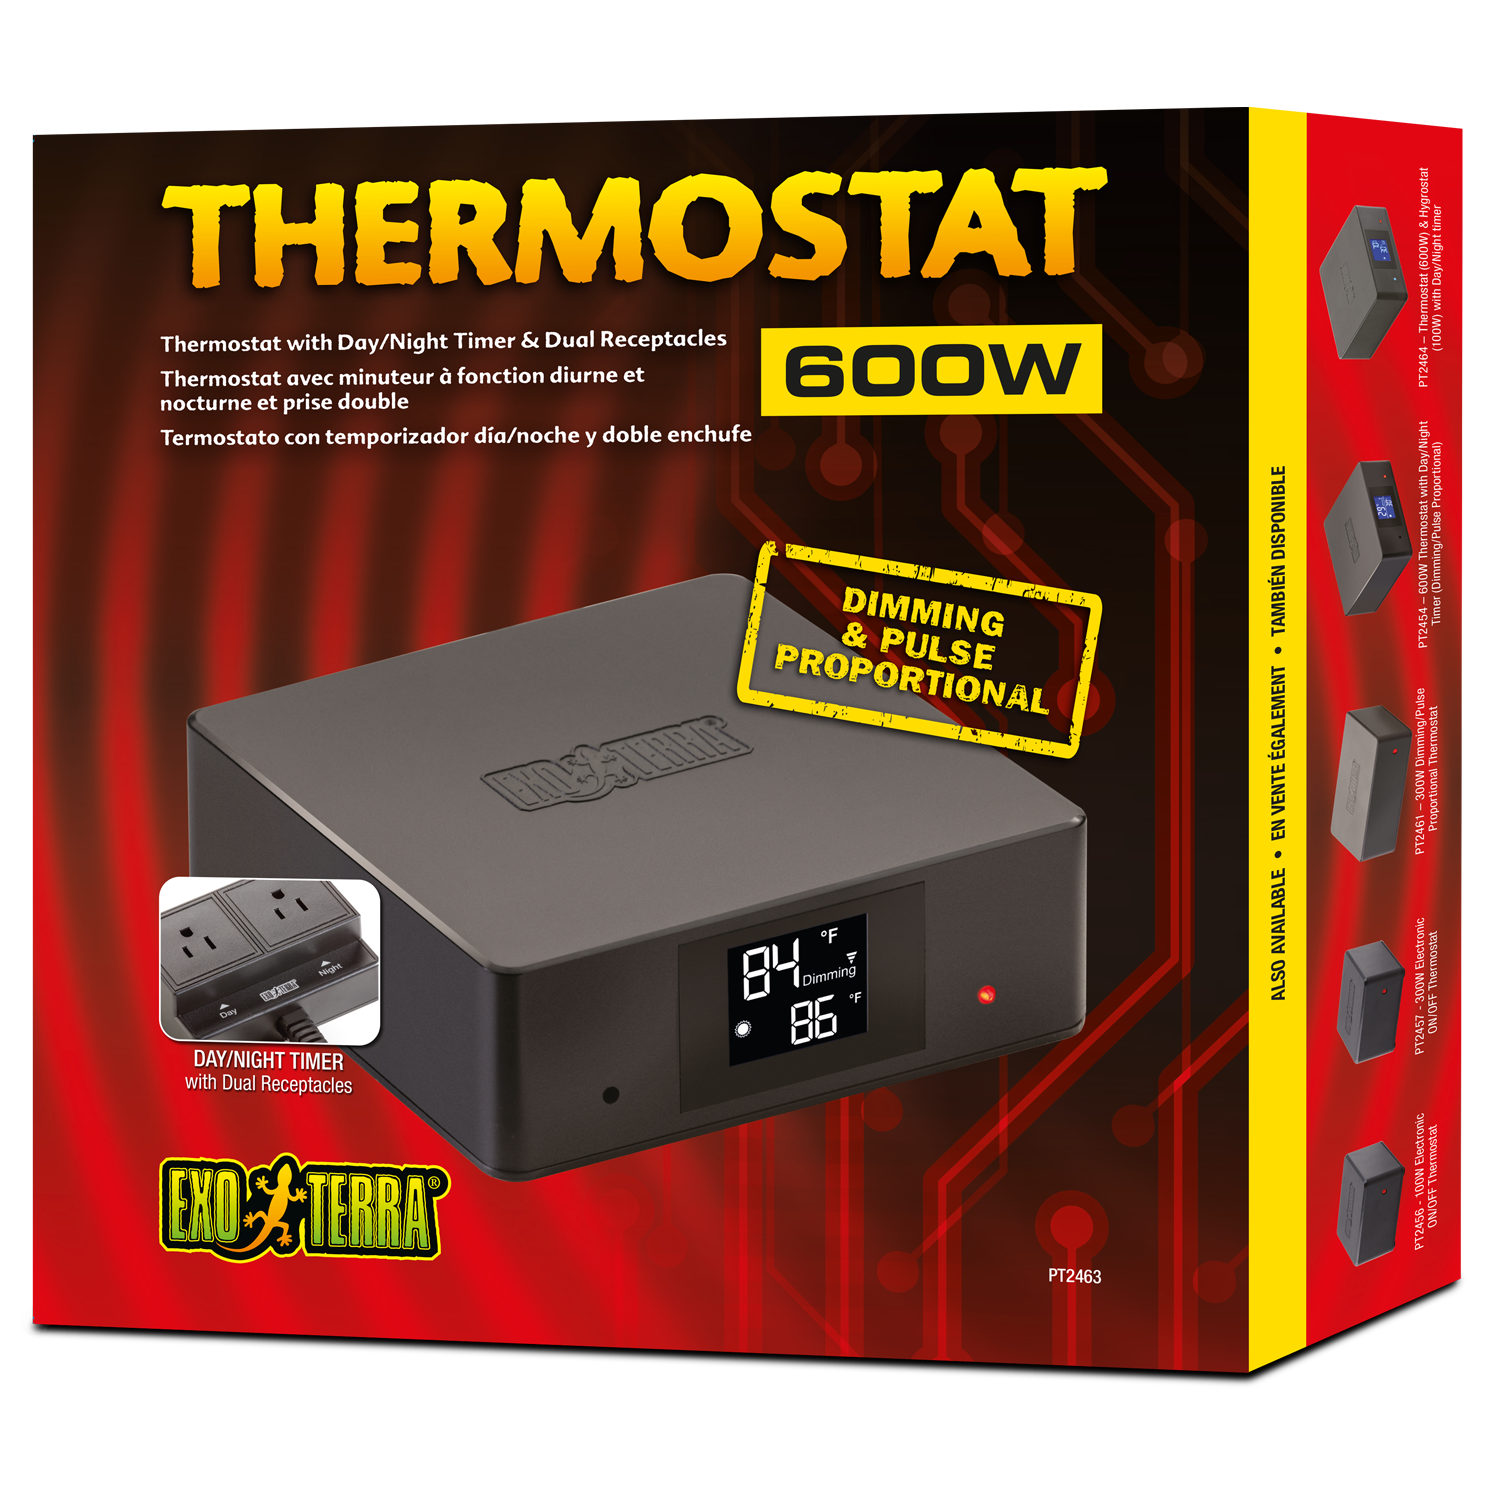
600W
Thermostat (PT2463)
with Day/Night Timer & Dual Receptacles
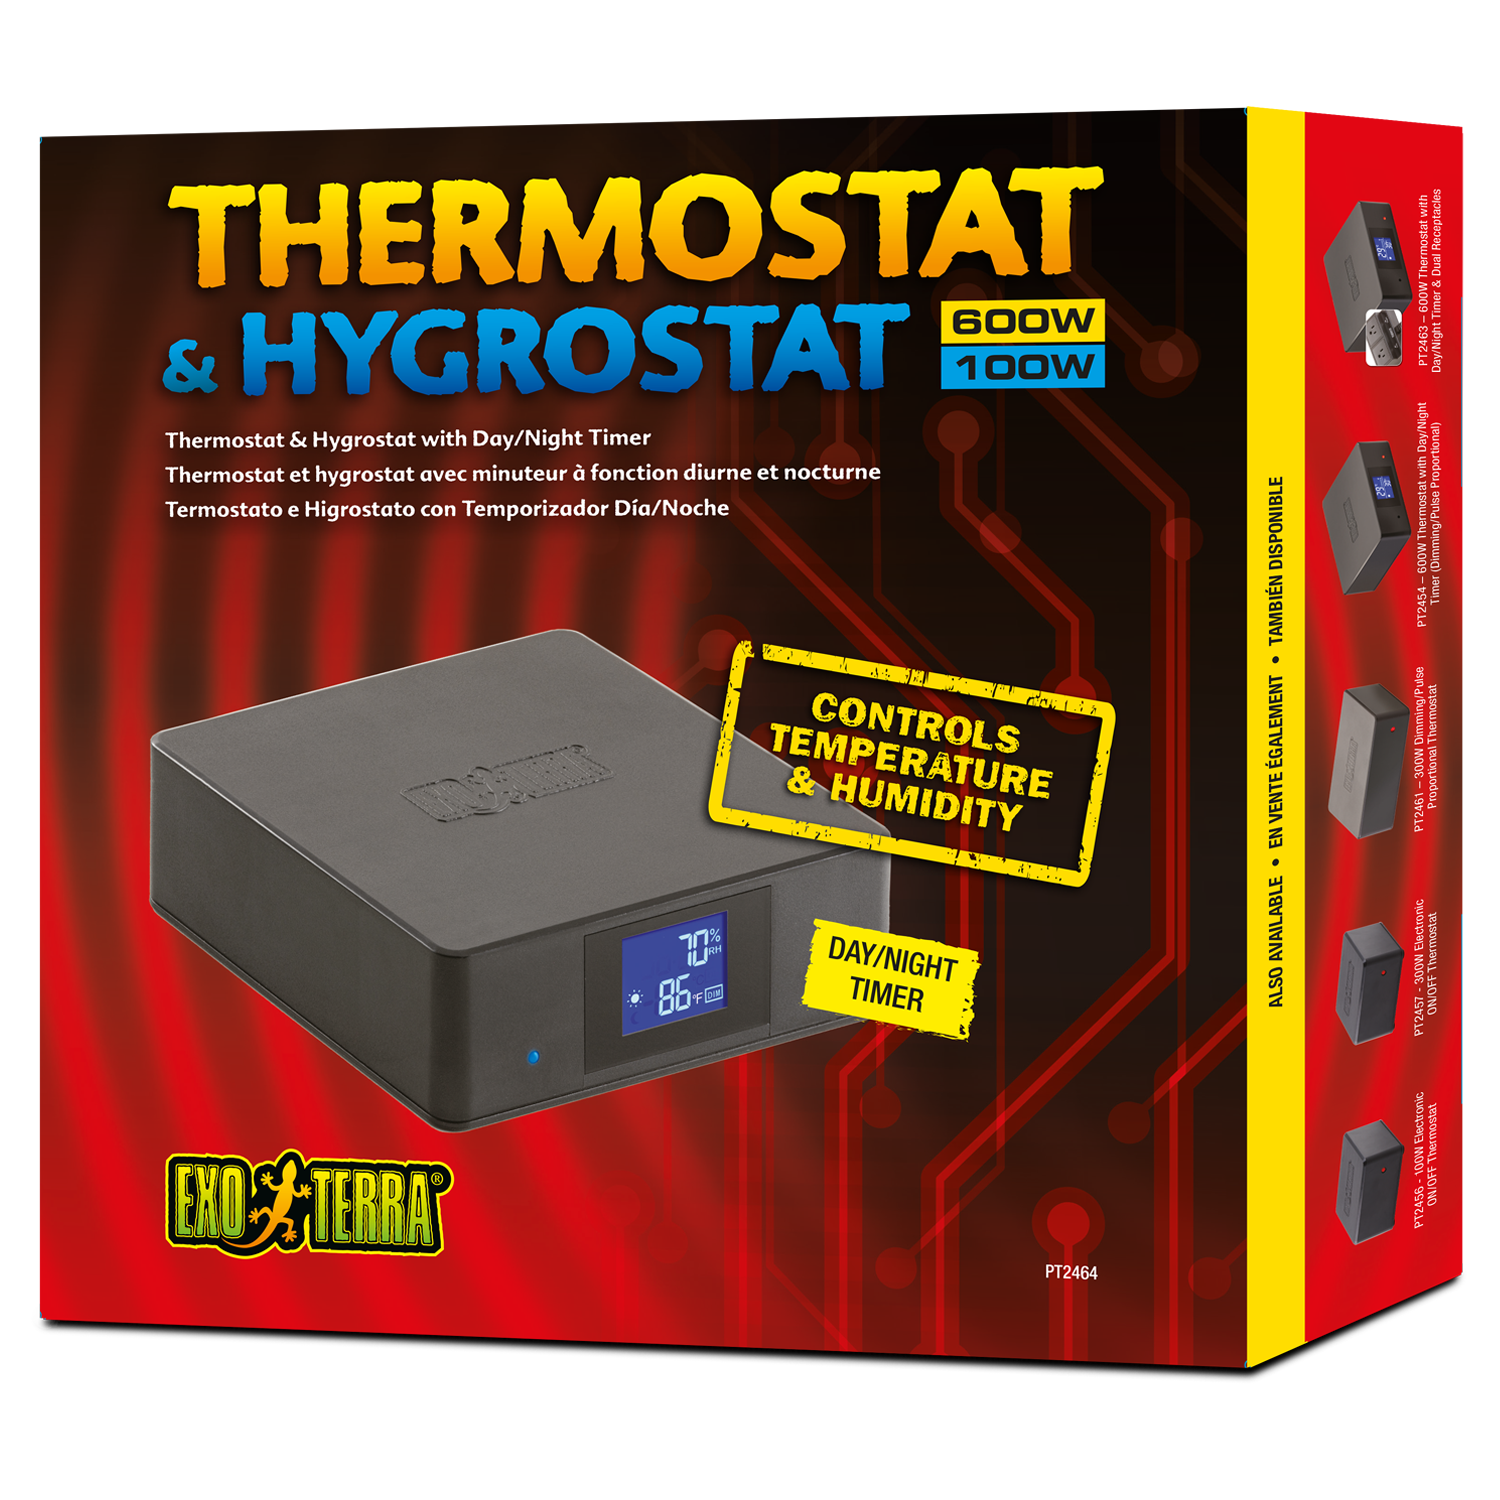
600W – 100W
Thermostat & Hygrostat (PT2464)
with day/Night Timer
